Creating an Online Store with Squarespace: A Step-by-Step Guide
Setting up an online store has never been easier, thanks to Squarespace’s intuitive platform. Whether you're selling handmade products, digital downloads, or services, Squarespace provides all the tools you need to launch your e-commerce business. Follow this step-by-step guide to get your store up and running.
Step 1: Sign Up and Choose a Template
The first step to creating your online store is to sign up for a Squarespace account and select a template that suits your brand.
- Sign Up:
- Go to Squarespace and create an account.
- Start with a free trial to explore the platform.
- Choose a Template:
- Browse the e-commerce template library.
- Example: If you sell jewelry, consider using the Lusaka template for its elegant product pages and streamlined checkout.
Step 2: Customize Your Site Design
Once you’ve selected a template, it’s time to make it your own.
- Edit the Layout:
- Use the drag-and-drop editor to adjust sections and elements
- Add pages such as Home, Shop, About, and Contact
- Upload Your Logo:
- Use Squarespace’s logo maker or upload your own.
- Ensure your logo is high-resolution to maintain a professional look.
- Set Your Color Scheme and Fonts:
- Choose colors that match your brand identity.
- Example: A skincare brand might use soft pastels and clean, sans-serif fonts to convey a sense of calm and purity.
Step 3: Add Products
Adding products to your store is straightforward with Squarespace’s e-commerce tools.
- Navigate to Products:
- Go to the Commerce section and select "Products."
- Enter Product Details:
- Add a title, description, and price.
- Upload high-quality images.
- Example: A clothing store could include multiple angles of each item, along with a size guide.
- Organize Products:
- Use categories and tags to make browsing easy.
- Example: A home decor store might categorize items as "Furniture," "Lighting," and "Wall Art."
Step 4: Set Up Payment Options
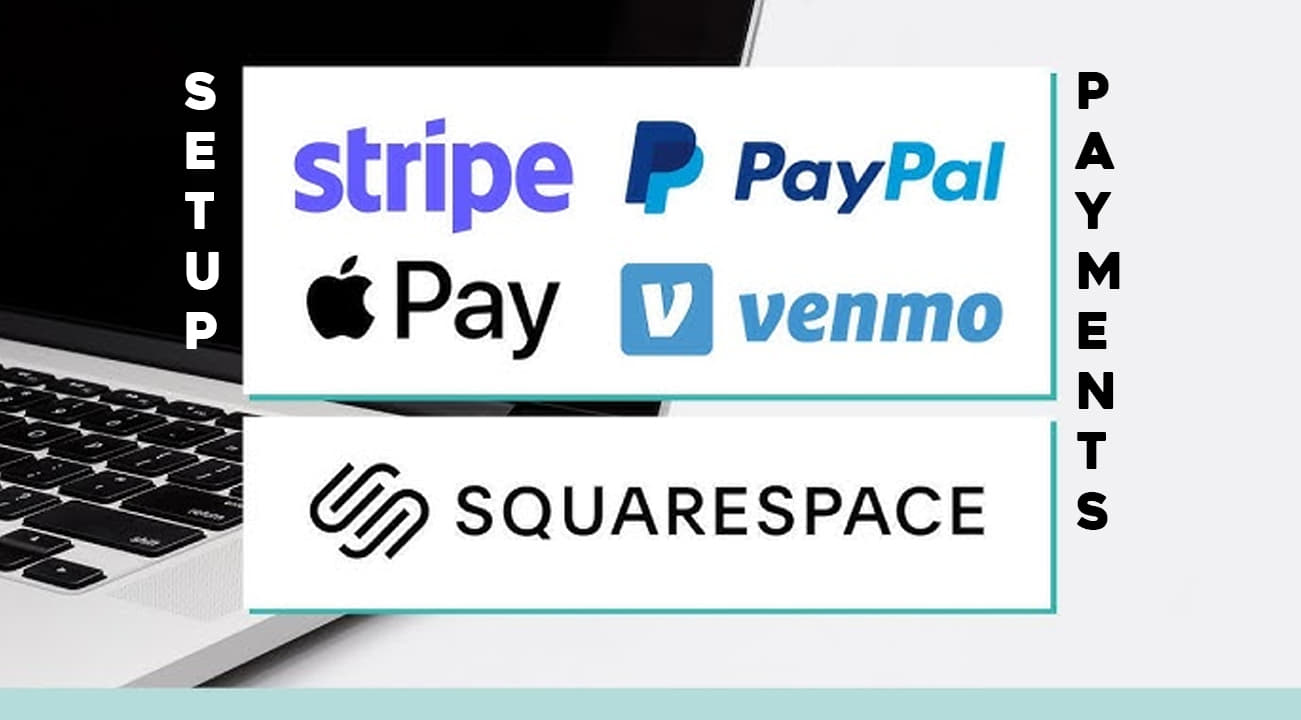
Squarespace supports various payment methods to ensure a seamless checkout experience.
Connect a Payment Processor:
- Navigate to the Payments section and link your store to Stripe, PayPal, or Square.
- Example: A tech gadget store can offer Apple Pay for added convenience.
- Configure Tax Settings:
- Enable automatic tax calculation or set rates manually based on your location.
Step 5: Configure Shipping Settings
If you’re selling physical products, setting up shipping is essential.
- Set Shipping Zones:
- Define where you’ll ship your products (e.g., local, national, or international).
- Choose Shipping Methods:
- Offer options like flat rate, weight-based, or free shipping.
- Example: A handmade pottery shop could offer free shipping for orders over $100.
- Print Shipping Labels:Use Squarespace’s integration with ShipStation to manage orders and print labels.
Step 6: Optimize for SEO
Search engine optimization (SEO) is crucial for driving traffic to your store.
- Edit Page Titles and Descriptions:
- Include relevant keywords for each product and page.
- Example: Use phrases like "Handmade Ceramic Bowls" in your product descriptions.
- Create a Blog:
- Share articles related to your products.
- Example: A fitness brand could post "Top 5 Exercises for Building Core Strength" to complement its workout gear.
Step 7: Add Marketing Features
Squarespace includes built-in marketing tools to help you attract and retain customers.
- Email Campaigns:
- Set up automated emails for promotions and abandoned cart reminders.
- Example: Send a welcome discount code to new subscribers.
- SocialMedia Integration:
- Link your Instagram, Facebook, and Pinterest accounts.
- Display a live feed of your social media posts on your site.
- Discount Codes:Offer discounts to encourage purchases.Example: A candle shop could create a "SUMMER20" code for 20% off seasonal items.
Step 8: Preview and Launch Your Store
Before going live, preview your site to ensure everything looks perfect.
- Test Your Site:
- Check for typos, broken links, and image quality.
- Test the checkout process to ensure payments work smoothly.
- Enable SSL:
- Ensure your site is secure by enabling SSL (done automatically by Squarespace).
- Launch:
- Once you’re satisfied, connect your custom domain and publish your site.
- Once you’re satisfied, connect your custom domain and publish your site.
Examples of Successful Squarespace Stores
- Artisan Goods Co.:
- A handmade leather goods shop that uses the Brine template to highlight product craftsmanship.
- The green thumb:
- A plant nursery showcasing vibrant photos and offering care guides for each plant.
- Fitness Essentials:
- A workout gear store that leverages email campaigns to drive repeat purchases.
- A workout gear store that leverages email campaigns to drive repeat purchases.
Squarespace’s powerful tools and user-friendly design make it the ideal platform for building an online store. By following these steps, you can create a professional, engaging site that attracts customers and drives sales.


SUBSCRIBE TO OUR WEEKLY NEWSLETTER
Receive a weekly newsletter with the latest and most interesting content.
Popular Tags
- Mobile
- Web Hosting
- Electronics
- Laptops
- Food
- Food Delivery
- Education
- Services
- Student Discount
- Beauty and Health
- Fashion Accessories
- Home Appliances
- home decor
- Large Appliances
- Small Appliances
- Gift card
- Entertainment
- Gifts
- Movies
- TV Series and TV Shows
- Mens Clothing and Accessories
- Womens Clothing and Accessories
- Clothing
- Footwear
- games
- TV
- Groceries
- Party Supplies
- Bags
- Jewelry
- Fragrance
- Kitchen
- Kids Clothing and Accessories
- Mens Footwear
- Membership
- Office Furniture
- Stationery
- Baby Clothing & Accessories
- Pet Supplies
- Auto Parts
- Automobiles
- Automotive Tools and Accessories
- Sporting Goods
- Flight Booking
- Travel
- Eyewear
- Sunglasses
- Pet Food
- Games Accessories
- Mobile Accessories
- Watches
- Makeup
- Household Goods
- Furniture
- Hotel Bookings
- Video Games
- Tablet
- Medicine
- Luggage
- Printers
- Computers & Accessories
- Holiday Package
- Car Rentals
- Outdoors
- Fitness and Wellness
- Art and Craft
- Flowers
- Office Supplies
- Womens Footwear
- Domestic Flights
- International Flight
- Musical Instruments
- Supplements
- Sports
- Baby and Kids Shoes